Minecraft is a popular sandbox game where you can create and explore your own world. One of the first things you might want to do is to build a starter house, a simple and functional shelter that can protect you from monsters and provide you with a place to store your items and craft new ones.
This blog post will show you how to make a cool starter house in Minecraft, step by step. Let’s get started!
Step 1: Find a suitable location
The first step is to find a good spot for your starter house. You want to choose a flat location that has access to water and resources and is not too close to dangerous areas like caves or ravines. You also want to avoid building on sand or gravel, as they can fall and ruin your house.
A good option is to build near a village, as you can trade with the villagers and use their farms and buildings. Another option is to build near a biome border so that you can have access to different types of blocks and resources.
Step 2: Gather materials
The next step is to gather some materials for your starter house. You will need some basic tools like a pickaxe, an axe, a shovel, and a sword. You will also need some blocks like wood, stone, dirt, glass, and torches. You can find these materials by mining, chopping trees, digging dirt, smelting sand, and crafting.
You don’t need to gather too many materials at first, as you can always expand and improve your house later. A good amount is about two stacks of wood planks, one stack of stone or cobblestone, half a stack of glass panes, and 16 torches.
Step 3: Build the foundation
The third step is to build the foundation of your starter house. You want to make a rectangular shape that is about 10 by 6 blocks in size. You can use any type of block for the foundation, but stone or cobblestone are good choices for durability and contrast.
Place the blocks on the ground in a rectangular pattern to build the foundation. Make sure to leave some space around the foundation for windows and doors. You can also dig out some blocks under the foundation to make a basement or a storage room.
Step 4: Build the walls
The fourth step is to build the walls of your starter house. You want to make them about four blocks high from the foundation. You can use any type of block for the walls.
Place the blocks of your choice on top of the foundation blocks in a vertical pattern to build the walls. Make sure to leave some gaps for windows and doors. You can also add some details like pillars, fences, or stairs to make your house more interesting.
Step 5: Build the roof
The fifth step is to build the roof of your starter house. You want to make it slanted and overhanging for protection and style. You can use any type of block for the roof, such as stairs or slabs, for a smooth slope.
To build the roof, place the stairs or slabs on top of the walls in a diagonal pattern. Make sure to cover the entire area of the house and extend it by one block on each side. You can also add some details like chimneys, skylights, or banners to make your house more unique.
Step 6: Add windows and doors
The sixth step is to add windows and doors to your starter house. You want to make them large and symmetrical for light and balance.
To add windows, place the glass panes in the gaps you left in the walls in a horizontal pattern. Make sure to align them with the center of each wall and leave some space between them. To add doors, place two wood doors in the gaps you left in the front and back walls in a vertical pattern. Make sure they open inward and outward.
Step 7: Add lighting and decoration
The final step is to add lighting and decoration to your starter house. You want to make it bright and cozy for comfort and appeal.
To add lighting, place torches on your starter house’s walls, roof, and floor in a symmetrical pattern. Ensure to light up every corner and avoid placing torches next to flammable blocks.
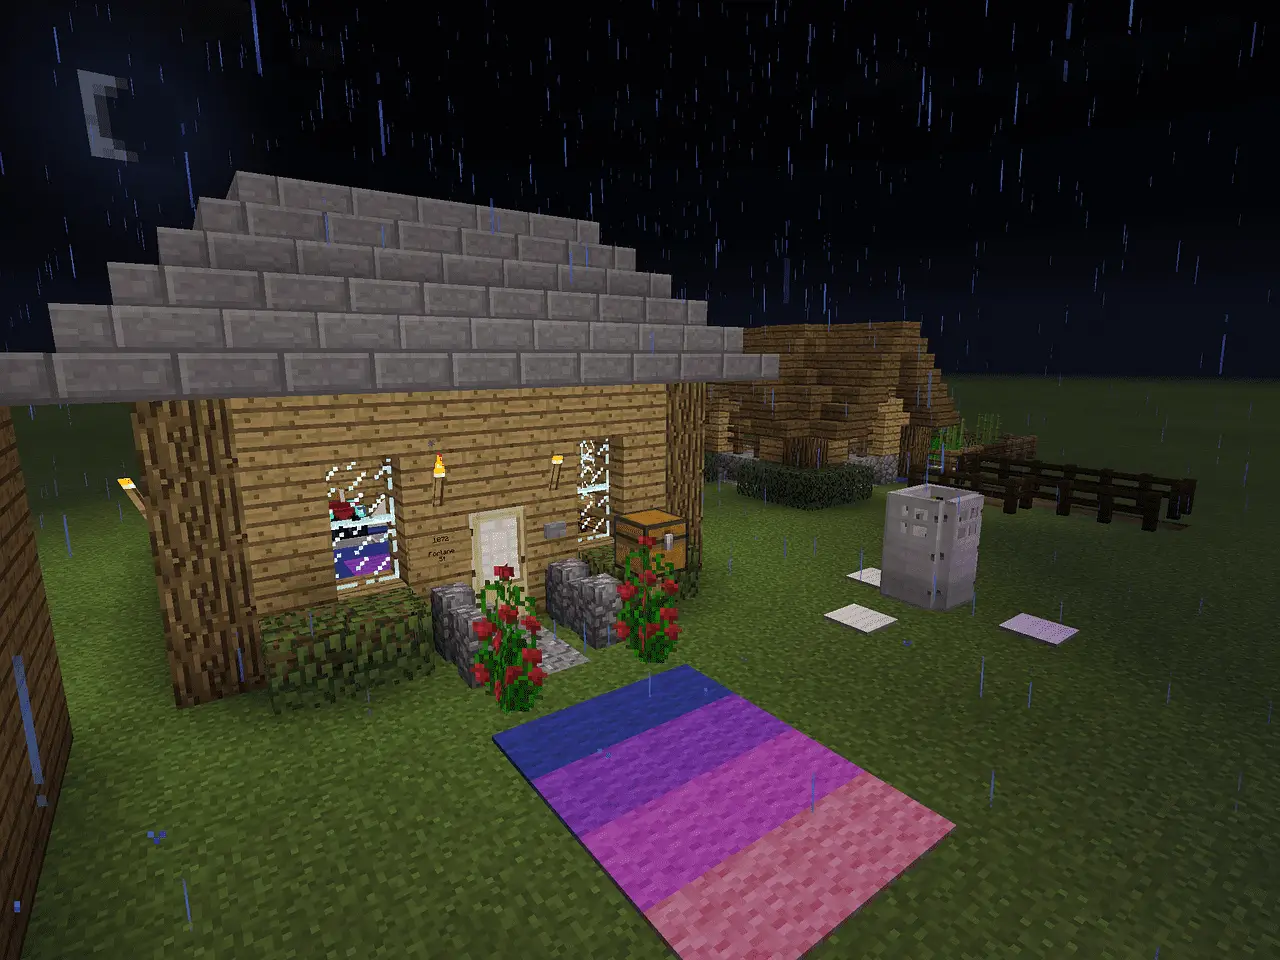
Place flowers in pots or on the ground around your starter house in a random pattern to add decoration. Make sure to choose different types and colors of flowers for variety.
Congratulations! You have just built a cool starter house in Minecraft! You can now enjoy your new home and explore the world around you. You can also customize and upgrade your starter house as you wish by adding more rooms, furniture, or features. The possibilities are endless!